With a long drive coming up soon as we head north to take photo for another wedding on Waiheke Island I’ve been thinking about getting a better stereo for the car. Specifically I don’t want to keep using our ipod radio transmitter cable, it’d be nice to have something that allows an ipod to be connected and then controls it from the head unit.
After research on various forums online it appeared that the job was fairly straightforward. Theoretically the factory fitted stereo is easy to remove and the moulding, cage and loom (converter cables between the cars wiring and the replacement head unit) should be readily available.
I’ve asked around and I can get the parts required from Repco, and other places. Choosing a head unit will be a job for later, first up I wanted to see if I could extract the current one. So armed with a couple of small screwdrivers I set about prodding at the trim. I used this guide as a helping hand: Toyota Nation forum guide.
Disclaimer: I’m not afraid to make a fool of myself and break something, and I’m no expert. The following shows what I did and should not be attempted without first thinking through the consequences if YOU break something, hurt yourself, or damage your vehicle.
- First up the trim needs to be removed from the left and right of the head unit. I did this using a couple of jewellers screwdrivers (one to lever a gap, the other to then apply leverage). If you lever at the points where the trim is clipped in to the body of the dash the trim should pop out. Start at the top.
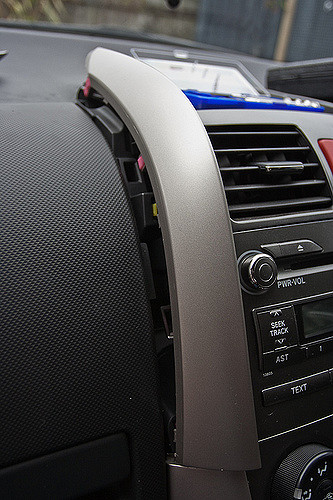 Photo by Brendon & Keryn
The left hand trim, the pink clips can be seen.
Photo by Brendon & Keryn
The left hand trim, the pink clips can be seen.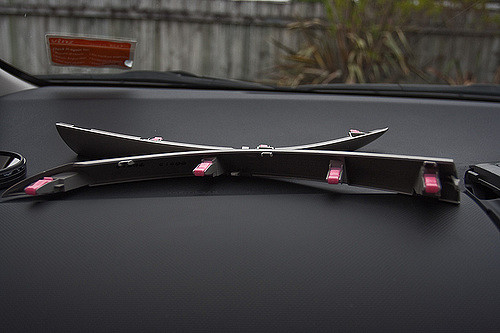 Photo by Brendon & KerynThe removed trim.
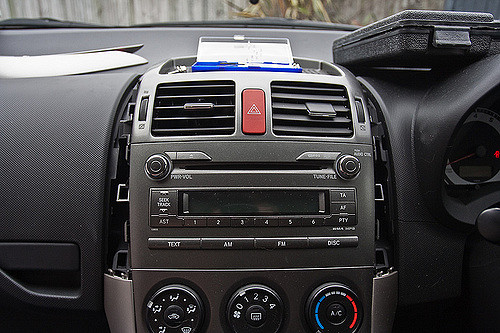 Photo by Brendon & KerynTrimless.
 - Next up lift up the vent cluster, it should just pull out and then up. This’ll give you more light and room to move.
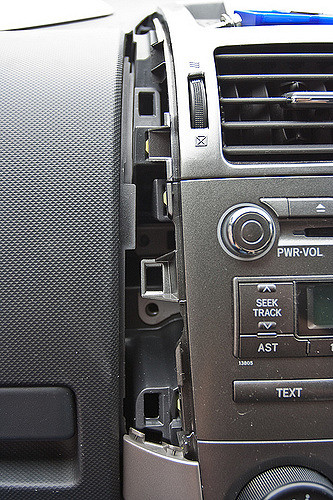 Photo by Brendon & Keryn
Pull the vent cluster out in line with the yellow clips.
Photo by Brendon & Keryn
Pull the vent cluster out in line with the yellow clips.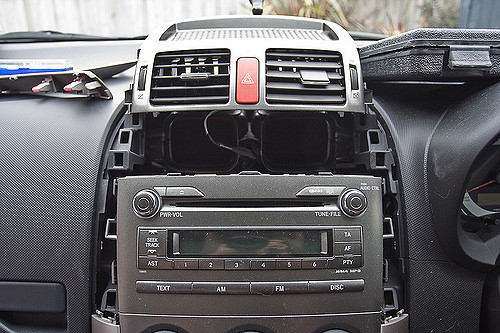 Photo by Brendon & KerynI rested the vent cluster up on the top of the dash.
 - You’ll be able to see the four 10mm bolts that secure the head unit. Unscrew these to enable you to pull out the head unit. Be careful not to drop any of them, the gap underneath the head unit goes down a way and retrieving your bolt can be tricky (when I dropped a bolt I used a knitting needle with sticky tape on the end to retrieve the bolt – don’t make my mistake).
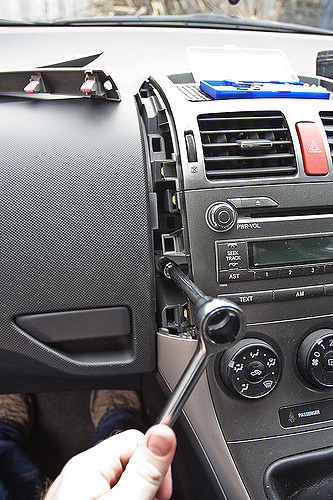 Photo by Brendon & Keryn
Getting the bolts out.
Photo by Brendon & Keryn
Getting the bolts out.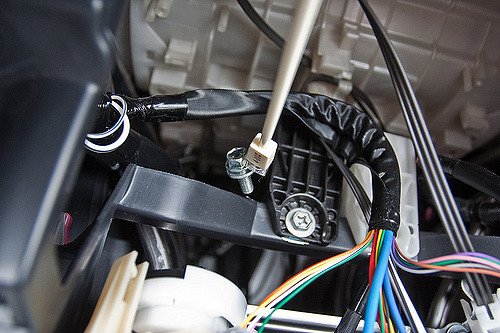 Photo by Brendon & KerynPlaying operation as a youngster finally has a tangible benefit.
 - Next you’ll need to pull out the head unit. I found that the base of the head unit was clipped into the piece of the dash below that contains the temperature control dials. It took a bit of jiggling to get it out and I had to unclip the trim below the head unit to finally get it out.
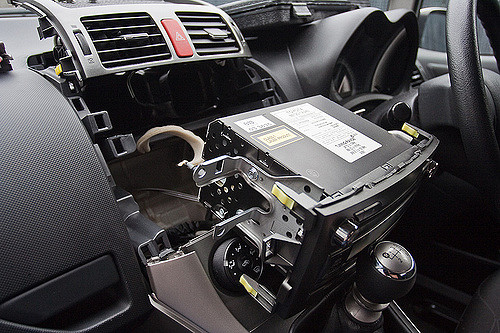 Photo by Brendon & Keryn
One head unit just about detached.
Photo by Brendon & Keryn
One head unit just about detached.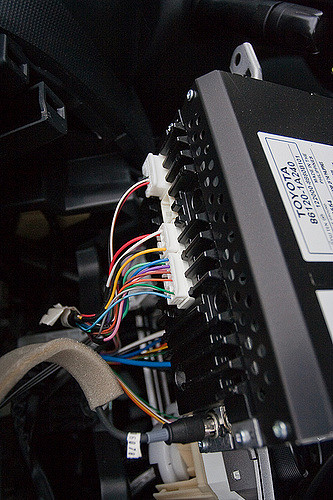 Photo by Brendon & KerynThe wires at the back ready to be plucked out.
So ends part one, part two will be written when we get all the required parts.


I must say this is a great article i enjoyed reading it keep the good work 🙂